Obstruction handling and dissolve shader techniques in Trifox
Hi, I’m Brecht Lecluyse, one of the developers at Glowfish Interactive that is currently working on Trifox. And welcome to part 2 of Dissolving The World: Obstruction handling and dissolve shader techniques in Trifox.
In case you missed part 1 you can find it right here: https://glowfishinteractive.com/dissolving-the-world-part-1/
Quick recap
In part 1 we defined a specific problem we are trying to solve: How do we deal with objects that obstruct the view of our main character during gameplay?
I went over the approach we took in coming up with a solution that works well for the game and had a closer look some common shader techniques such as world space texturing and the creating of a simple texture based dissolve shader. The result of this can be seen below.

In this part I will go over how we improved the dissolve quality and how we use this simple technique throughout Trifox to create all kinds of fun visual effects (including the dynamic camera obstruction handling) and even some cool gameplay mechanics.
Going one step further
Part 1 ended with highlighting some of the flaws that revealed themselves when using the texture based dissolve shader technique. Namely that the dissolve can be very chaotic near the transition edges and because we are using a texture as the basis for the dissolve we can’t get to close without clearly noticing pixelated transitions. We also cannot guarantee a nice continuation of the noise texture across large surface angle differences and between intersecting objects.


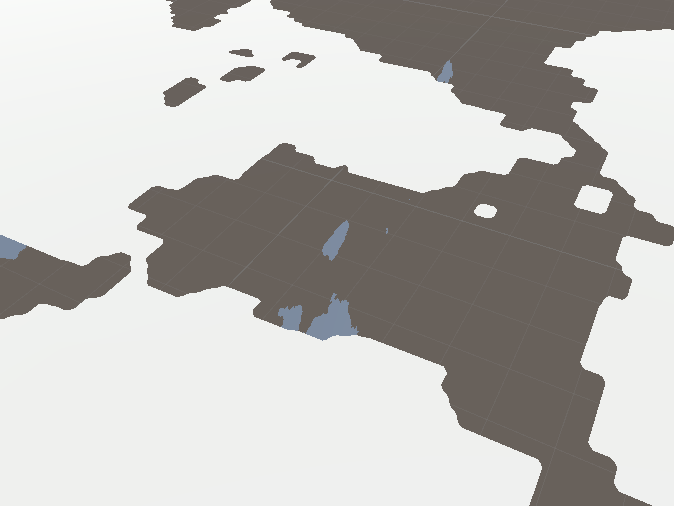
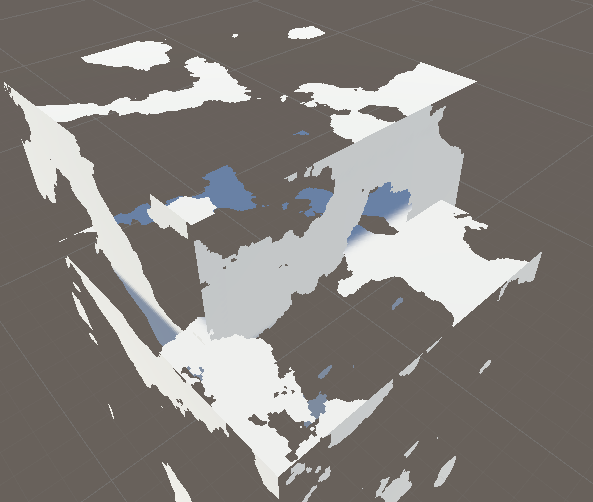
The only way around this problem is by completely eliminating the use of a texture. Instead, we use math to generate procedural 3D noise that uses the world space coordinates as the main input parameter. In other words we end up with a 3D texture that consists of gradient volumes with values that smoothly transition between 0 and 1. (Each point in 3D space is assigned a single value that forms a gradient with each surrounding point in space.)

(The image above has the dissolve percentage set to around 50% to better visualize the 3D noise volumes.)
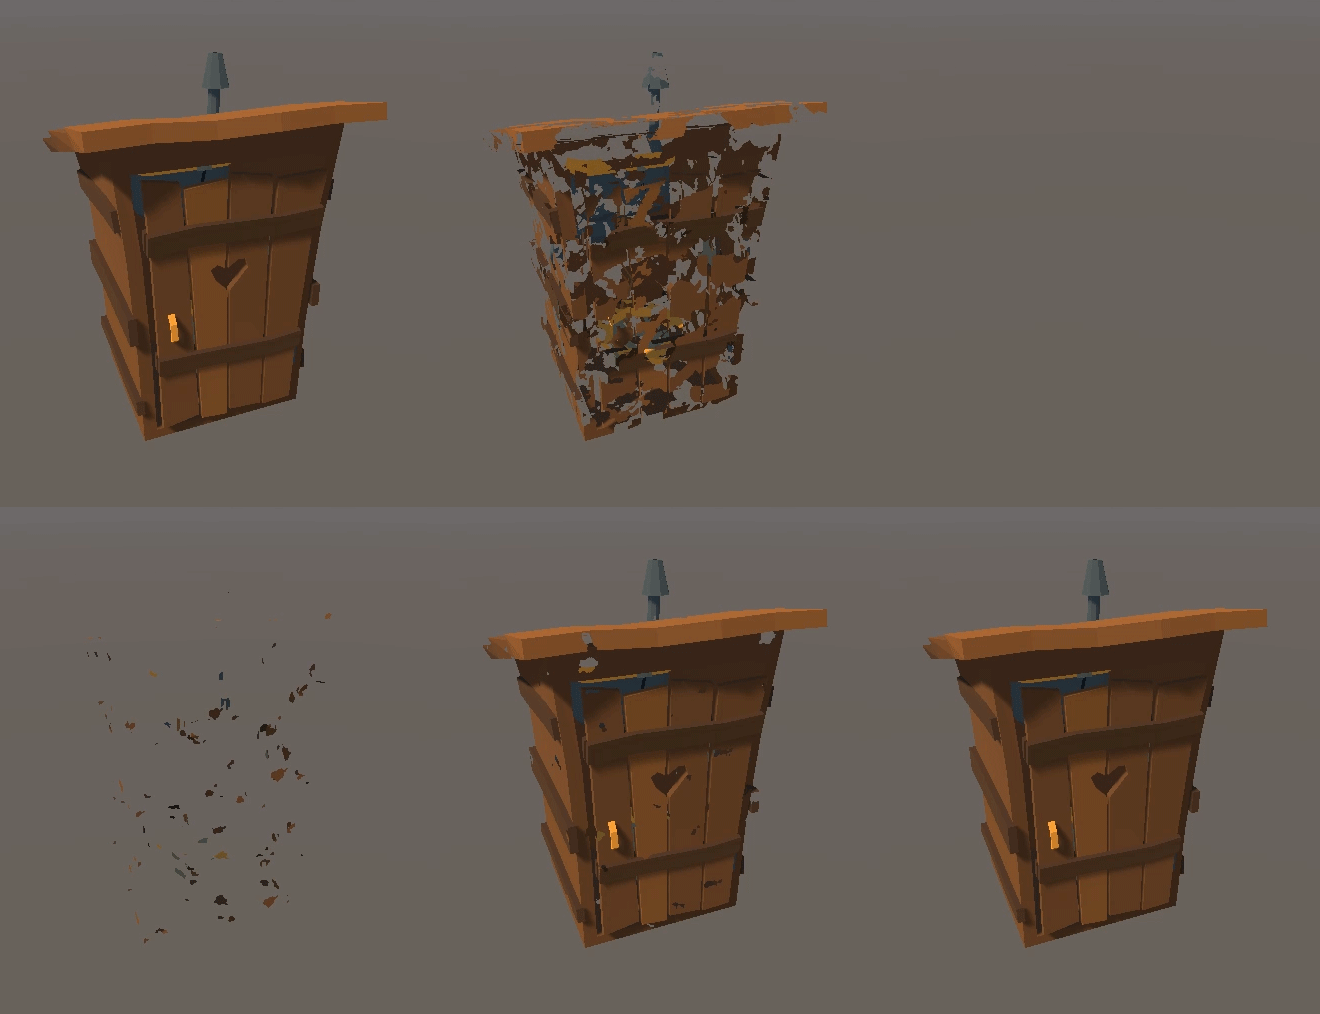
The use of procedural noise enables us to scale and zoom as much as we want without any loss of quality. The dissolve is also seamless across all surfaces no matter how they are aligned as no UV coordinates are needed. Below you can see the two solutions side by side (texture vs procedural). Notice how the fully procedural technique feels incredibly smooth compared to the the texture technique. Add in an emissive border and you end up with a fun magical disintegration effect.
Texture:

Procedural 3d noise:


This gave us exactly what we were looking for. The next step: How do we use this to dynamically deal with the camera obstruction problem?
Involving the screen coordinates
In our initial requirements for the obstruction handling (see part 1) we mentioned that the player should still feel aware of the objects that are being hidden. Meaning that, if possible, we still want to see parts the object we are trying to hide as long as it doesn’t hinder our view. To achieve this we introduced screen space coordinates into the shader. That way we can determine how far the surface we are trying to render is removed from the center of the screen (focal point) in screen space.
Usually the screen space coordinates are used for post processing effects but in our case we use this information to influence the base shading of the objects in question.
You can access the screen position by adding the following to the shader input struct:
float4 screenPos;
This gives you access to the sceen position in the same way as we gained access to the world position.
Bellow you can see a simple screen space radial gradient that is being calculated and applied to the objects in the scene. Note that this is not an overlay effect. The screen position directly influences color value of the rendered geometry. The result is an image that feels as if you are shining a spotlight onto the center of your screen.
(The top image is a full unaltered radial gradient while the bottom images uses a gradient that has already been squashed and adjusted to respect the proportions of the screen and give us the final mask we need.)


The generated mask takes care of where we want the dissolve to occur but there is still a crucial part missing to this solution. If we were to use the mask as is, we would be able to pierce a hole throughout the entire environment (at least on objects that have the shader applied) starting from the camera’s position going forward into infinity. And what if the player is standing in front of an obstacle that can dissolve? Something like a low wall. We want to make sure that object remains fully visible or at least keep the dissolve effect to an absolute minimum.
By taking into account the distance between the player and the camera and analyzing the z depth at which the object is being rendered we can take care of this issue.
Add in the noise mask and we end up with the following result: (In this case the player distance is set to a fixed value of 20 m to better visualise what is going on.)


For the final ingame effect that is being used in Trifox we added some additional bells and whistles to give us additional control such as the ability to reduce the dissolve intensity via vertex painting, screen space fall of control and various noise tweak options.
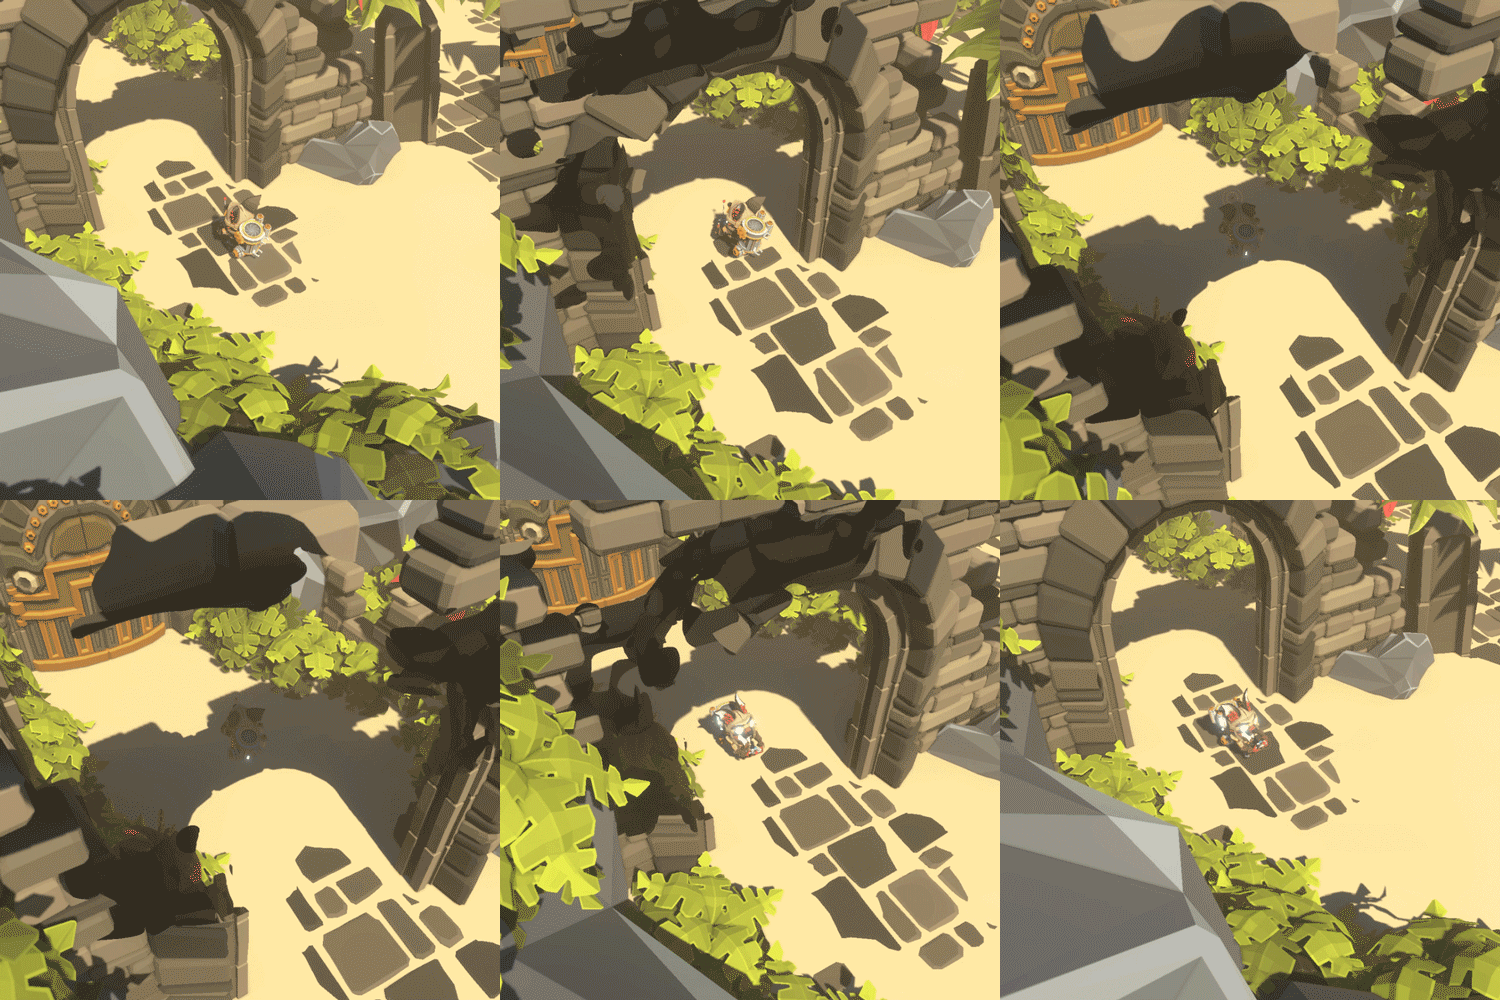
The following image showcases the completed obstruction handling system in action.
The influence of the depth based noise reduction and vertex paint control can be seen on the lower half of the archway.

Functionality checklist and validation
Before we could call the obstruction handling system finished we looked back at our initial requirements and checked if the solution met those requirements.
- Obstructions should be removed in a smooth and natural feeling manner.
[CHECK] - Level designers should have control of what can be hidden so we can leave select obstructions in place that can still hinder our view and create an added sense of depth within the environment.
[CHECK] Level designers have full control over what objects are allowed to dissolve. - The system should work no matter what the distance is between the character and the camera position.
[CHECK] The distance parameter is updated dynamically via a global shader parameter. - The obstruction handling should work from all angles.
[CHECK] - The player should still feel aware that there is something there, even if the object is being hidden.
[CHECK] - The setup work should be kept to a minimum.
[CHECK] The only setup work is assigning the correct shader to the object.
As you can see the final solution covers all the problems we set out to solve. mission accomplished! We now have a working system that does exactly what we wanted and fits in with the style and feel of the game.
Closing thoughts
This concludes this little insight in how we tackled the obstruction handling problem in Trifox. Starting from defining the problem, reviewing the available solutions and going over the thought process step by step leading to the final ingame result.
The technique that we ended up with is one that can be used for a number of additional visual effects and even gameplay mechanics in Trifox. Ranging from providing a nice and clean way to make defeated enemies and destructible object debris disappear to transforming the look of an environment or having the entire world fade in and out of existence.
To illustrate this, here are 2 prototype examples of the technique being used in a different way.


The same technique is also being used in Ary And The Secret Of Seasons by fellow Belgian studio Exiin to fade out the season spheres as seen in the following example.

I hope you enjoyed this 2 part look at the obstruction handling and dissolve shader techniques used in Trifox.
Be sure to let us know what you think on our Facebook and Twitter pages and until next time!
-Brecht
Update
Trifox is now available for Steam Wishlisting!
